
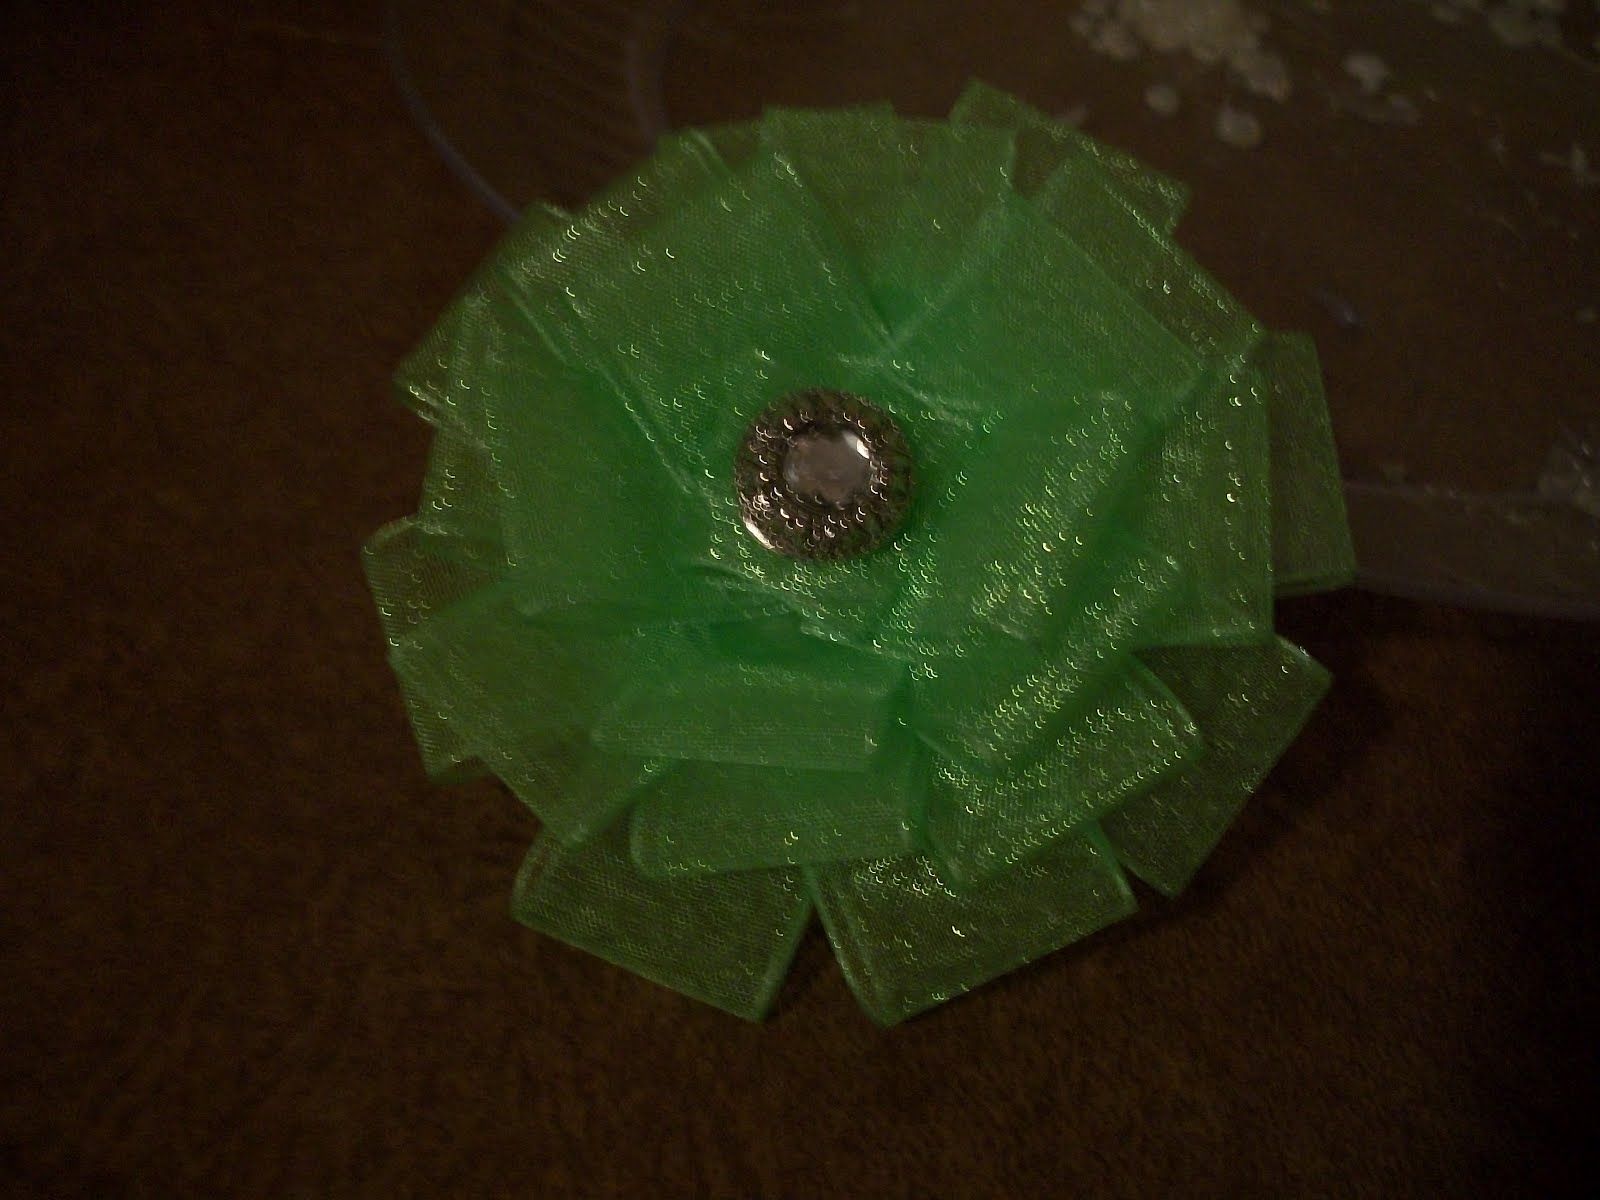
Flower #2 from our first girl's night.
(Sorry some of the pictures are bad. It is a bad lighting in my craft room, and this ribbon
is very shiny)

You will need:
2" circle
24- 2"L x7/8" W ribbon pieces
hot glue
fun, blingy button
alligator clip

Next, I cut 24 2" strips from 7/8" ribbon

Fold the ribbon in half bringing the ends together. Try not to pinch the edge of it. You'll want it to keep it's rounded edge.

Hot glue it about 1/8" from the end.

then start adding more strips, continuing with the folding method from above. Overlap every-so-slightly

And continue all the way around the outer edge of the circle

When you begin the next row, move in just a little bit to help create dimension.

Continue adding strips, bringing each row in just a little bit from the one before.

When you have used all your strips, add your fun button to the center with the hot glue

Hot glue your alligator clip to the back of the circle in the center


And there you have it. Quick and simple. And so cute. This one went to my niece Ashley.

No comments:
Post a Comment