Announcements

To contact me, please email tiffanykaydesigns(at)yahoo(dot)com

Showing posts with label hair bows. Show all posts

Friday, June 7, 2013

Just a little something

It seems like I've been doing a lot of projects lately involving babies. It could be the fact that in the last 6 months 16 friends and family members have given birth, so I've kind of got them on the brain. In the last 3 months I've added 3 nieces and 2 nephews. So, when my sister-in-law asked me to do the headband for her baby's blessing day to match the dress she bought, I was more than happy to do it. I saw the dress itself once and then had her text me a picture of it. It was hard to see on the screen of my lame phone that I've had  for almost 5 years, but we made do.

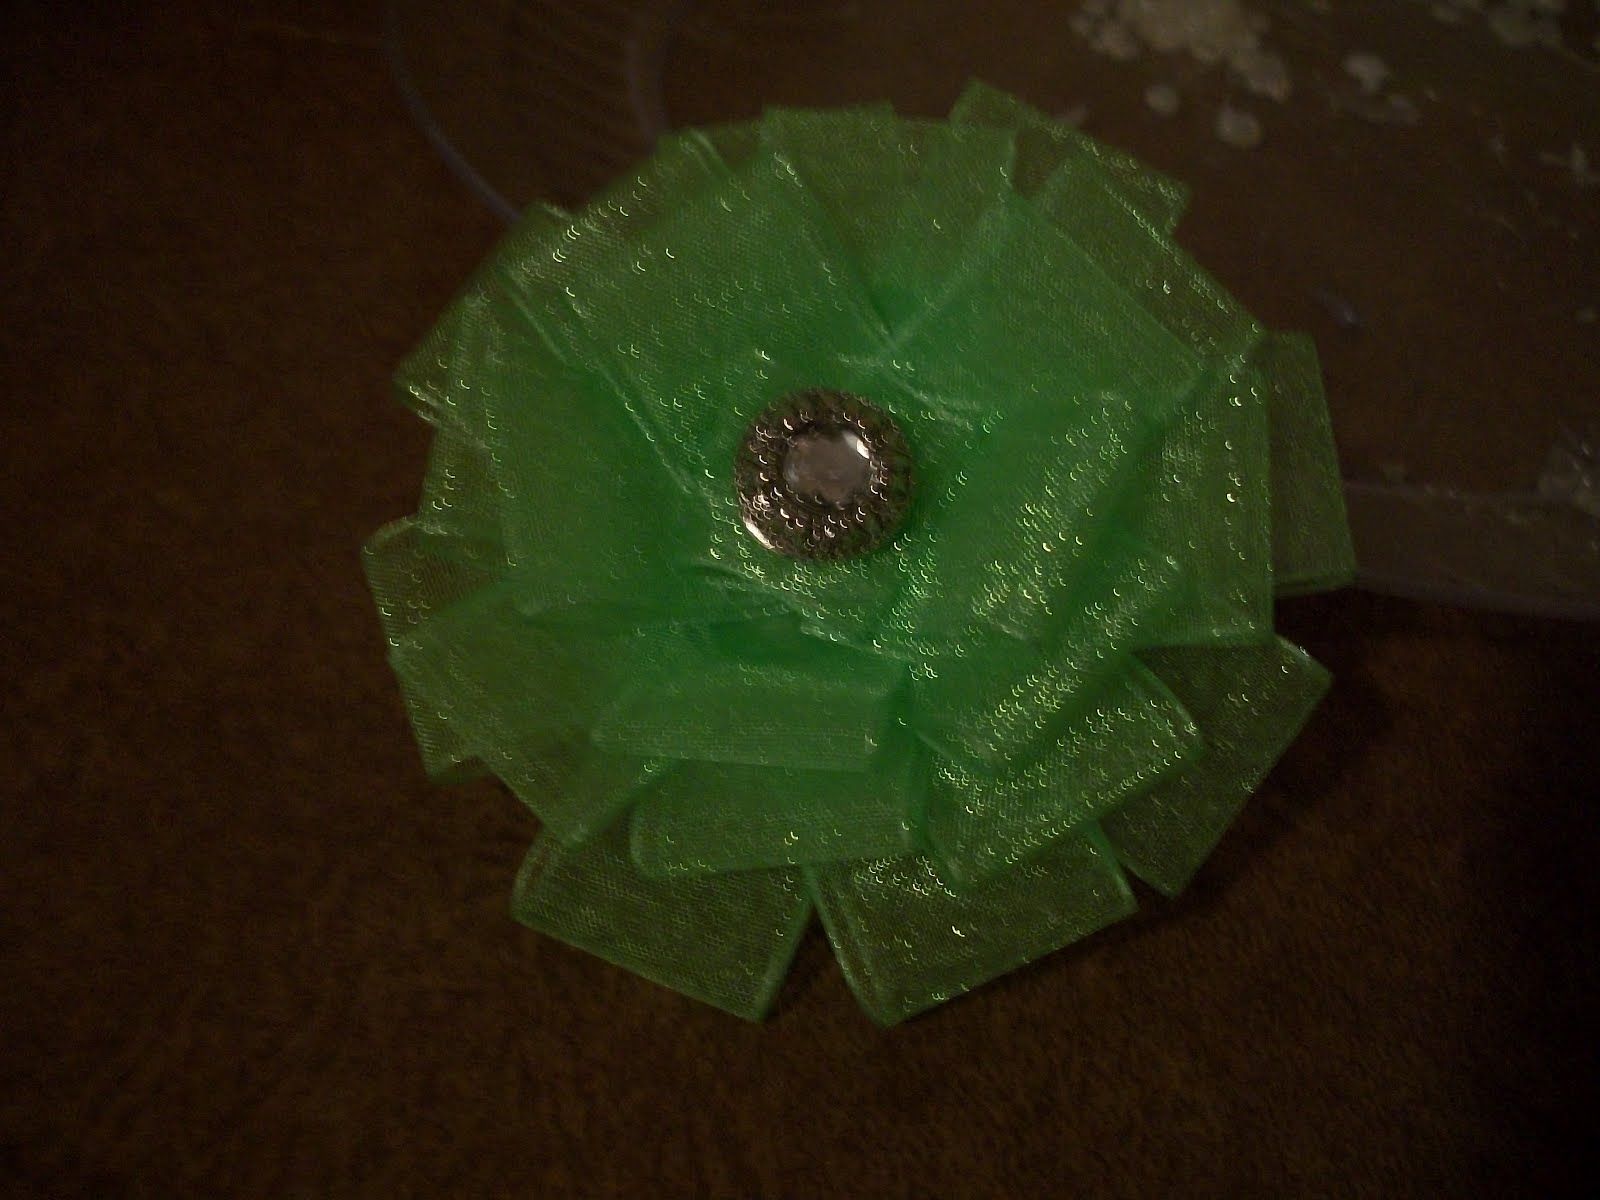
There's a certain level of difficulty that comes from not being able to physically have the dress in front of you to match it, but I think it came across pretty well. Other than having to shorten the elastic right before the church service, it went over pretty well.


Baby "K" didn't pull or tug at it at all, and it stayed on her head and turned out just how I wanted it. Because I work graveyards I was able to work on it while at work so I walked in one night with my styro-foam head and put it together.

Mom loved it, and I felt good doing it. 


Linking up with Amanda Jean over at Crazy Mom Quilts. Head on over and check out all the amazing finishes. I love her linky parties. They always motivate me to get stuff done!

Thursday, February 2, 2012

Green Flower tutorial


Flower #2 from our first girl's night.
(Sorry some of the pictures are bad. It is a bad lighting in my craft room, and this ribbon
is very shiny)


You will need:
2" circle
24- 2"L x7/8" W ribbon pieces
hot glue
fun, blingy button
alligator clip


Let's get started. I cut a 2" circle from some thick sewable interfacing. It's flexible enough to not look extremely stiff, and it's more able to get watered down than paper.

Next, I cut 24 2" strips from 7/8" ribbon

Fold the ribbon in half bringing the ends together. Try not to pinch the edge of it. You'll want it to keep it's rounded edge.

Hot glue it about 1/8" from the end.


then start adding more strips, continuing with the folding method from above. Overlap every-so-slightly

And continue all the way around the outer edge of the circle

When you begin the next row, move in just a little bit to help create dimension.


Continue adding strips, bringing each row in just a little bit from the one before.

When you have used all your strips, add your fun button to the center with the hot glue

Hot glue your alligator clip to the back of the circle in the center


And there you have it. Quick and simple. And so cute. This one went to my niece Ashley.

The DIY Show Off

Single Cut of Ribbon Flower tutorial


Are you ready to find out how to make this little beauty?


You will need:
1 1/2" ribbon
1 needle
coordinating thread
a button or brad that is at least 1/2" wide
hot glue gun
alligator clip


First start out with 12 inches of 1 1/2" ribbon.


Next, take a needle and thread in a matching color to the ribbon. and start at one end of the ribbon.

Do large (basting) stitch through the entire end.

pull tight.

Next, move on to the side doing the same kind of basting stitch.


Pull tight, but do not gather the remaining straight end.

until it looks like a scrunchie. Pull it tight so that it will gather under your button (or brad)
without being able to see the gathered edge.

Fold the other (ungathered) end over about 1/4"


lay it over the gathered end and attach it so that it looks like one continuous circle.


Glue around the outer edge of your button (or brad) and attach the ribbon to it.

Let it cool and then attach the alligator clip. Let the glue cool before you try it
out in your hair so that it isn't permanently stuck.

The picture is pretty bad, but I love this flower. And it is so simple.


Tuesday, November 2, 2010

Halloween

I get some sick thrill out of making our costumes for Halloween. This year we went as Phantom of the Opera and Christine Daae. My dress is supposed to be the one she wore during the Masquerade scene. I had to make it more modest. But was so pleased with how it turned out. For my husband's costume I made the cape, tie, and even his mask!


The back of my dress.


My Sister-in-Law's dress. She was a princess.
Even though the pattern called for a zipper, I decided to try doing a laced-up back and I loved it so much I did it on mine too!

What princess dress isn't complete without rhinestones?
Her matching headband.