
First, I started by scoring this book case from my husband's grandpa who was moving back up to Idaho. I think that wood furniture looks so much better than plastic bins (not to mention sturdier). You can see the plastic bin next to this one, but I am trying to rectify this as soon as possible. You can usually find inexpensive bookshelves at Wal-mart, or to be a little cheaper, you can try thrift stores like Deseret Industries or Savers. Like I said, this one was totally free (for me).
 Next, you will need:
- Paper-- I prefer the reams of cardstock you can get in the office section at Wal-Mart. It's a little sturdier than just regular printer paper and doesn't cost that much more.
- Glass jars- enough for all the "little" things.
- Something to cut the paper into long strips. I L-O-V-E my paper cutter although I covet one that is bigger.
- Black Marker
- Inks

I cut the paper into strips of approximately 2-3" strips depending on the size of the jar, and wrote in black marker what it was I was putting in the jar.
 On all of the strips I inked the edges just slightly to make the words stick out. (Didn't my 8 year old neice Regan do such a good job of taking this picture?)
Then, you will need to take two pieces of packaging tape, one on each end, and tape it to the jar.
About 2/3 of the way through I realized I was not going to have enough jars, so I decided to make a couple of my own that I knew would be really simple.
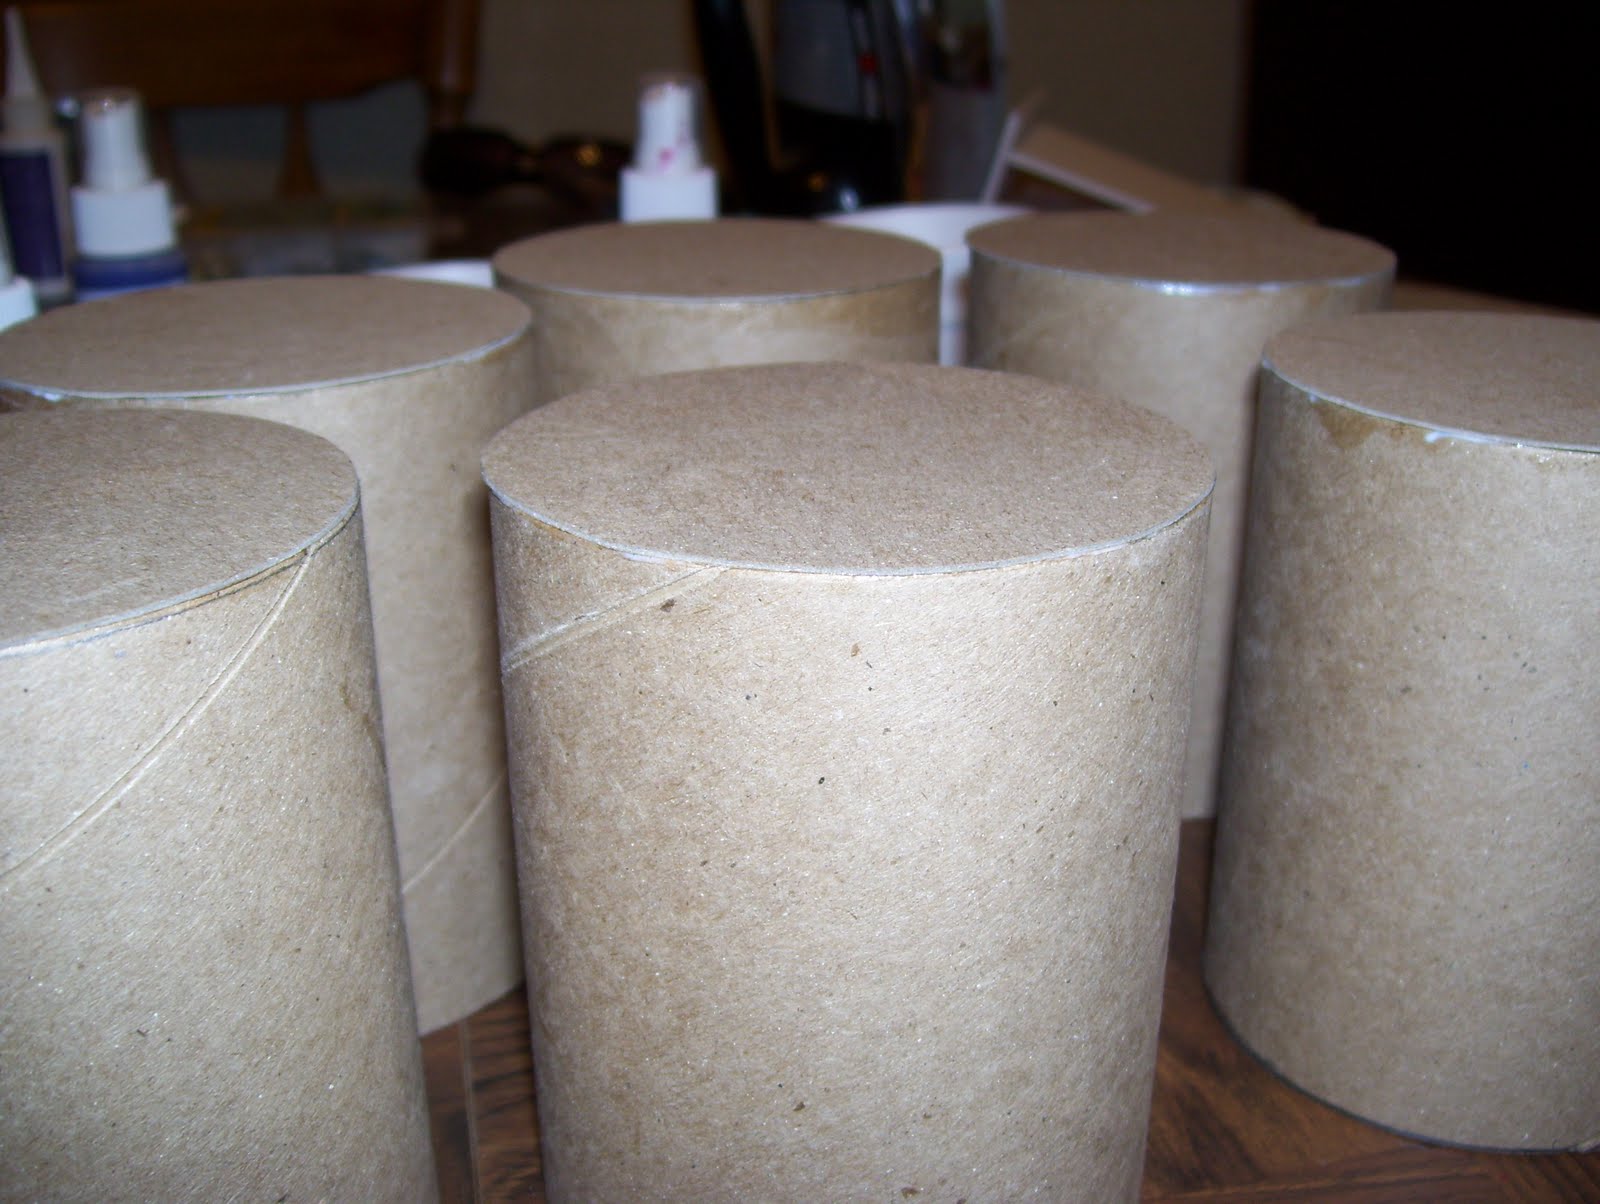
You need the inside cardboard piece of a roll of labels or vinyl, etc. These ones are about four inches tall and the cardboard piece from an paper pad.

Next, you will want to place the cardboard roll on the paper pad and trace around it with a pencil getting as close to the sides of the card board roll as possible.

Cut out the circle and use Mod Podge, glue dots, or Elmer's glue and go along the rim of the cardboard roll. Place the circle on top make sure that it lines up with the card board roll. If you used a wet adhesive allow to dry for about 15 minutes.

See, quick and simple. I put together 6 of them in less than 10 minutes. If you use a letter size paper pad (8 1/2 x11") you can cut out 6 circles from one piece of card board.

Finally, everything in it's place.

I loved how using the different kinds of storage and jars gave the shelf some dimension to it. As you can see I used a big can that held Potato Gems (not mine, but Spencer's. As an Idaho Girl you will never catch me purposefully using fake potatoes in any of my cooking) and a Swiss Miss can. But like I said. Keep it inexpensive and save things you would normally throw away.
The different kinds of glass jars I used were:
Peanut Butter
Pickles
White Alfredo Sauce
Salsa
Calypso Lemonade
Cheese Sauce
Broth
And then of course the 3 card board ones.
Other storage used in the shelf was:
The plastic bins I got from the Dollar Store as well as the small laundry basket which works well for ribbons because you can slip the ribbon through the holes in the basket.
So, get to saving your jars.
What have you organized with food jars you've kept around?
No comments:
Post a Comment